

Open-source software (OSS) is fascinating, right? People from different places all over the world can work on a certain code repository and improve it piece by piece to make great things happen. The Linux kernel (that powers servers, Android phones, and some desktop computers) is an open-source project. Most of what runs the web on frontends and backends are open-source libraries written in JavaScript, Python, and other languages.
This model of public and open collaboration has been successful for quite some time now, and everyone is invited to join and push OSS forward. So, this article will introduce you to the collaboration process on GitHub. It is assumed that you know the basics of Git and GitHub. In particular...
Commits
Examining changes (i.e., diffs)
Branches and merging
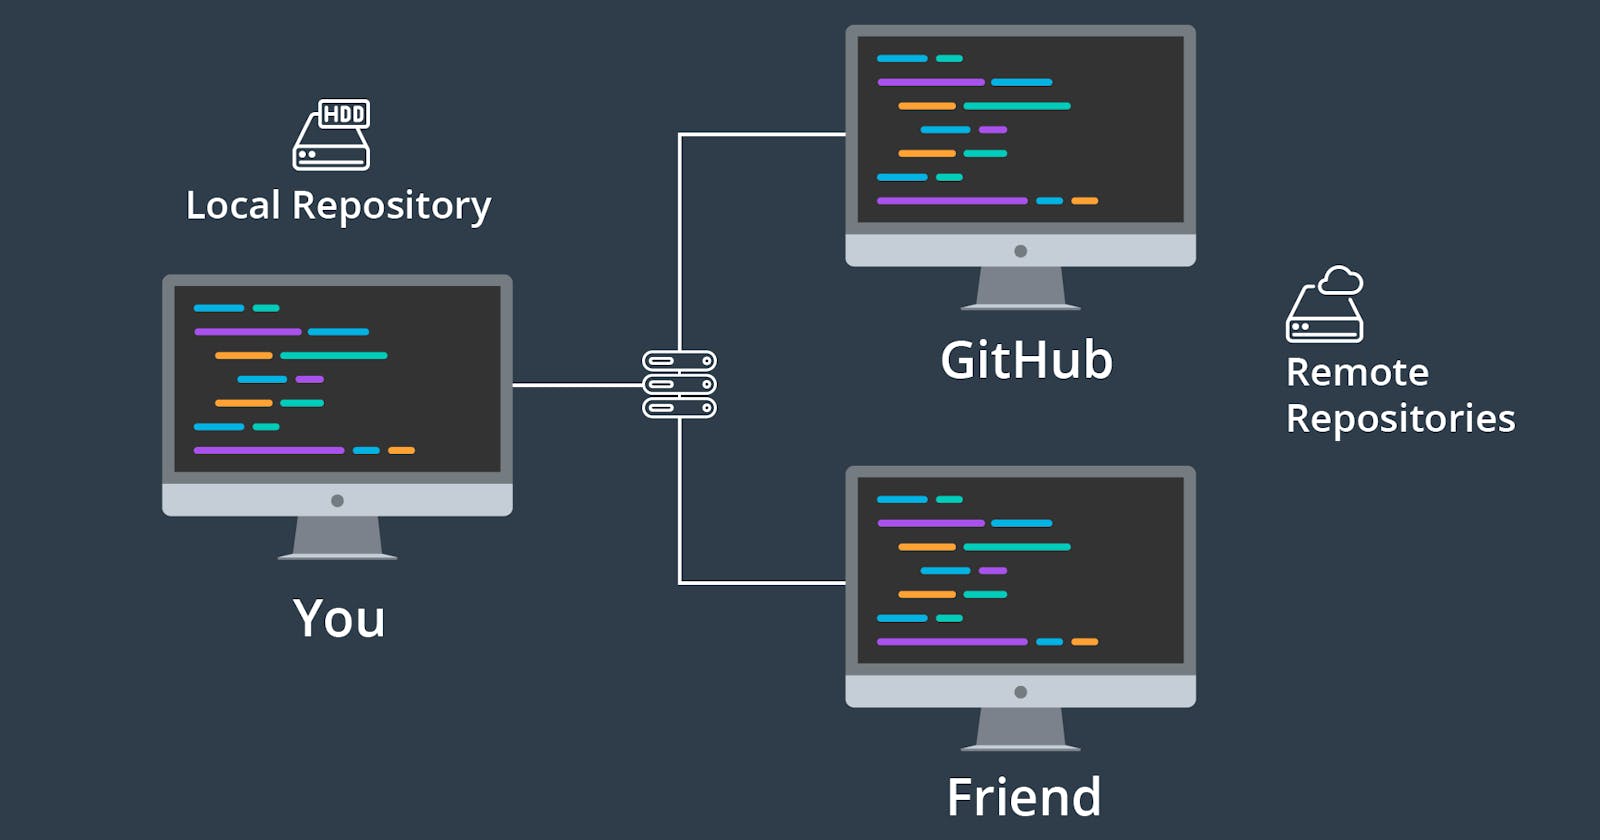
Pulling from and pushing to remote repositories (e.g., GitHub)
If you have the least amount of experience with these things, then the content you're about to read here will be a great next step in your coding journey.
Why Collaborate?
Even if you're already looking forward to contributing OSS and don't need much convincing, it's nice to know the benefits of what you're getting into.
Working with real-world code. It will most likely be a step up in complexity, and messiness possibly, from the beginner tutorial-level code you're probably used to.
Learning better and faster, given that you'll be working in real-world settings as said earlier. Plus, you'll read more code that's not yours, and start to develop a better understanding of the technology in terms of idioms, best practices, etc.
Working with teams. Collaborating with others on open-source projects can give you a taste of the team dynamic when working with code. That's a skill just as important as being good at a language/framework if you will apply for a job or start a large project on your own and have others contribute.
With the motivation out of the way, let's get started!
The Big Picture
These are the general steps that we will discuss in some detail in the next section using an actual code repo I made for demonstration.
Fork the repo you want to contribute to
Clone the fork on your machine
Edit and commit (preferably on a new branch)
Push to the fork
Submit a pull request on the upstream (original) repo to merge the changes in your fork with the upstream repo
(Hopefully) the maintainer of the upstream repo approves and merges the pull request
Demonstration
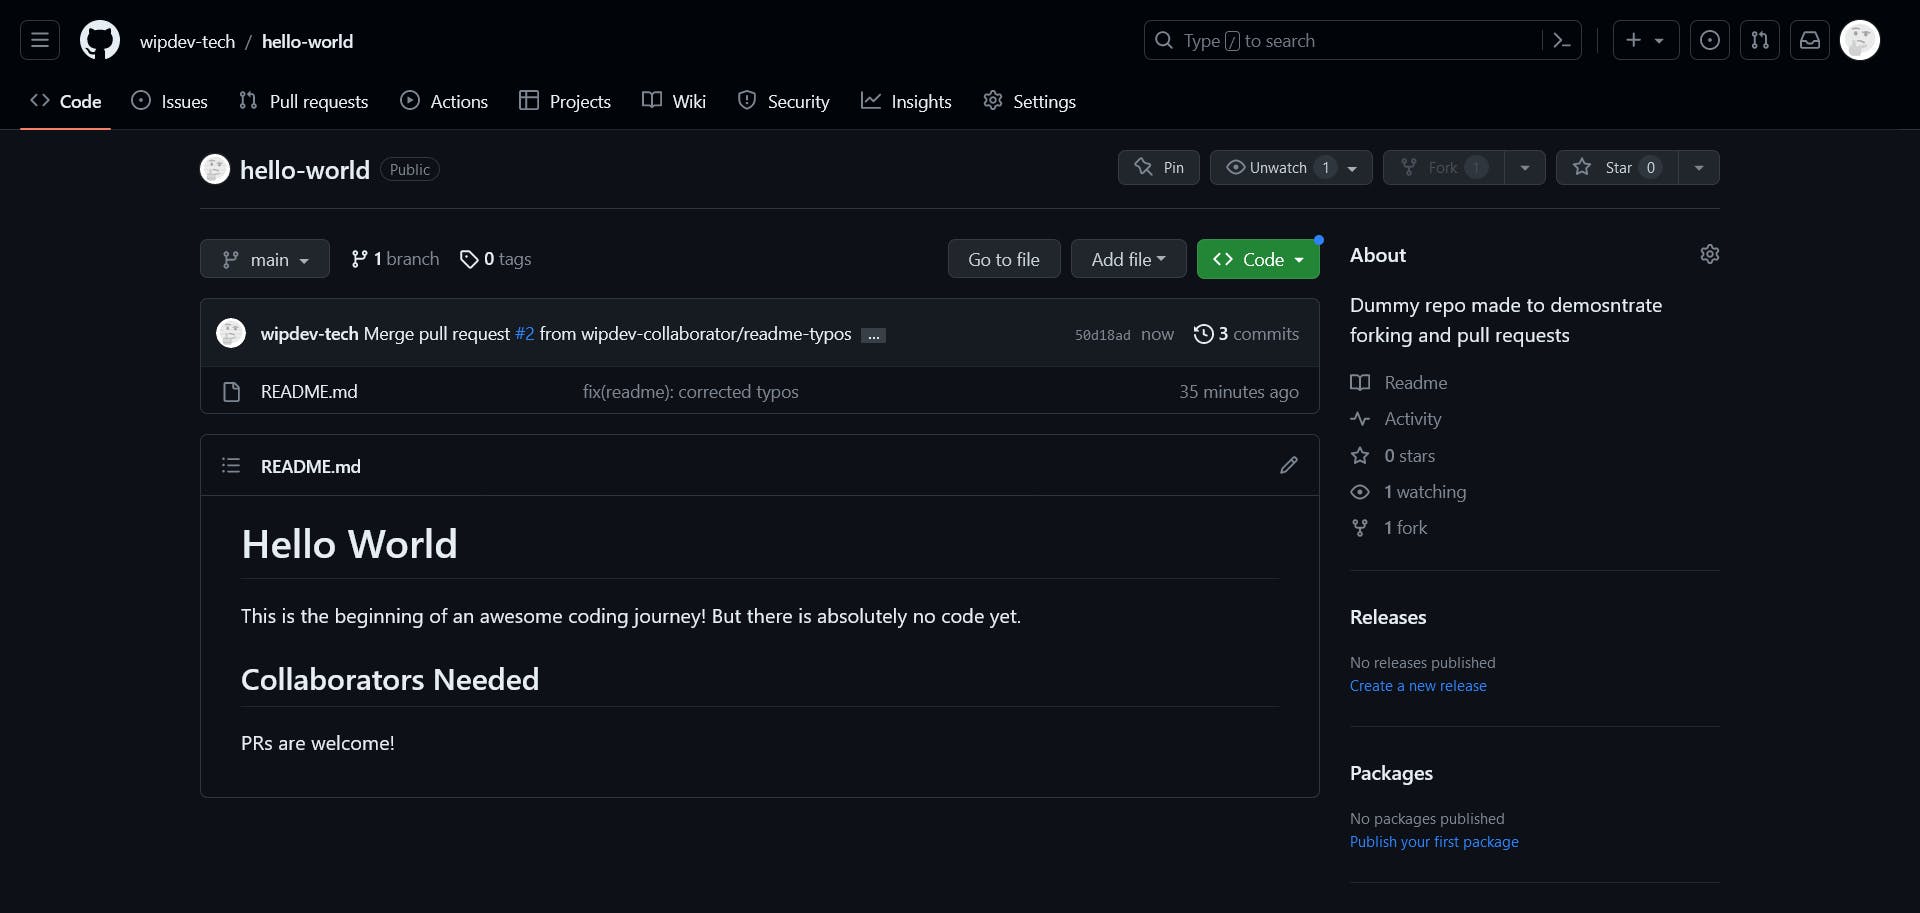
I have created a dummy repo to demonstrate the process on. The repo is created and owned by my account (wipdev-tech, the maintainer), but the changes and the pull request will be submitted by a separate account (wipdev-collaborator, the collaborator) to show the process from both perspectives.
So, the story is that the maintainer started a repo with a simple README.md, but it has some typos. The collaborator wants to correct these typos for the maintainer, and the whole process of doing that is shown below step-by-step.
Side note: in this article, we will show the minimal work you need to get started. If you want to learn more, GitHub has fully detailed documentation on that subject. You can check it out here.
Fork
When you want to make contributions to a repo on GitHub, you cannot do this right away because you are not authorized to push code directly to it. For this reason, you should fork that repo, which means you get a copy of it on your GitHub account, allowing you to make changes as you want.
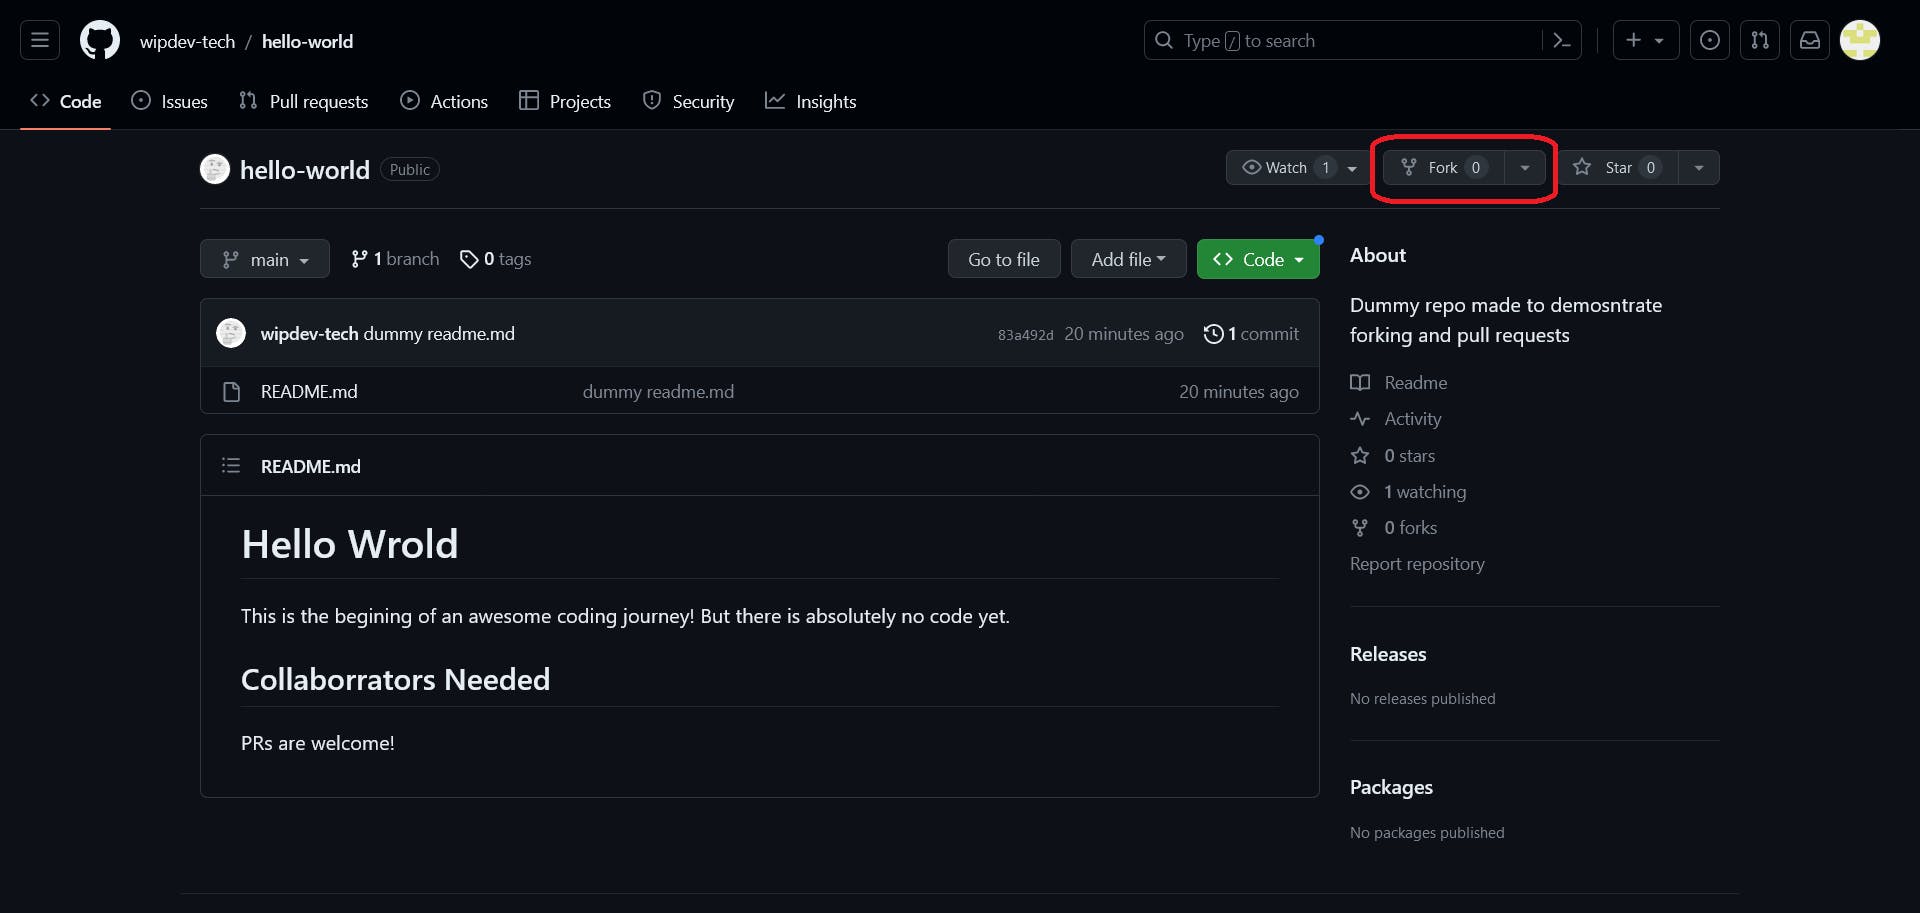
So, the collaborator proceeds to fork the upstream repo as shown below. It's as simple as clicking a couple of buttons. There is rarely a need to modify anything.

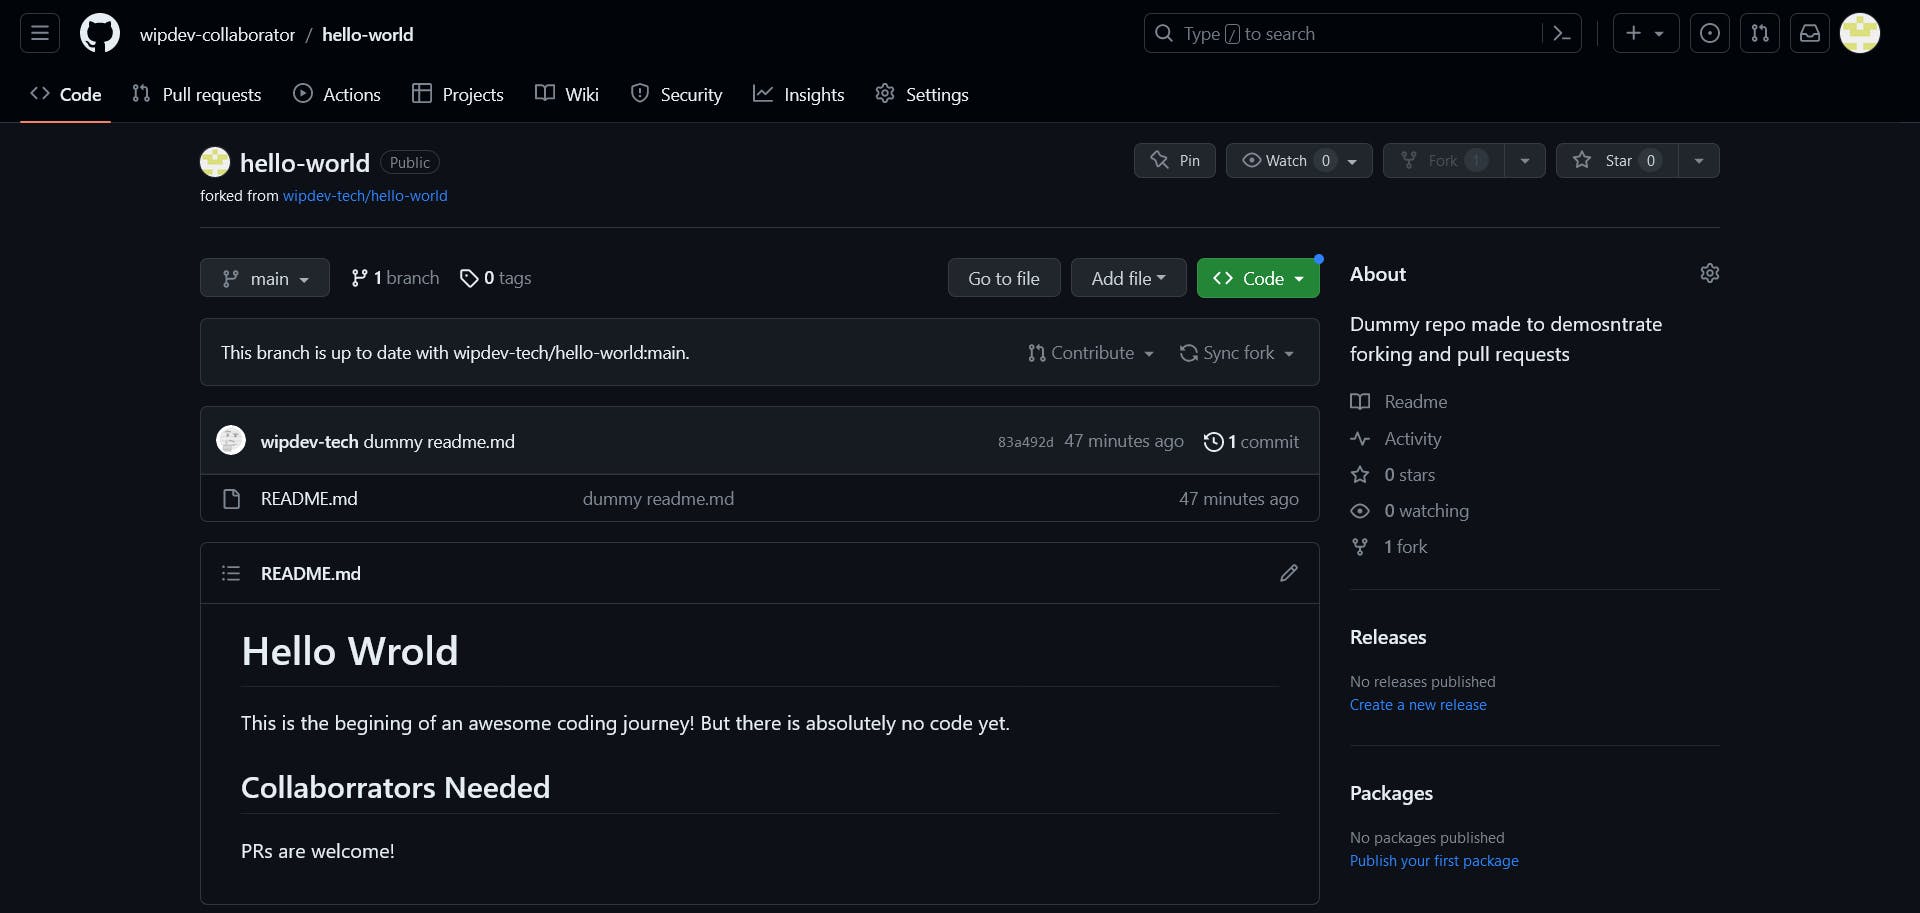
After doing that, and waiting for a couple of seconds, the collaborator now has on their account a copy of the main branch of the maintainer's repo as wipdev-collaborator/hello-world, shown in the screenshot below. Notice that it's stated in the repo where it is forked from.
Clone, Update, Push
Updating forks works the same as updating original personal repos. So, after you fork a repo, you're free to work with it using the same process you're already familiar with when working solo.
So, the collaborator does the following:
Clones the repo to their local machine
Creates a new branch,
readme-typosEdits
README.mdand commits the changesPushes the new branch to their fork
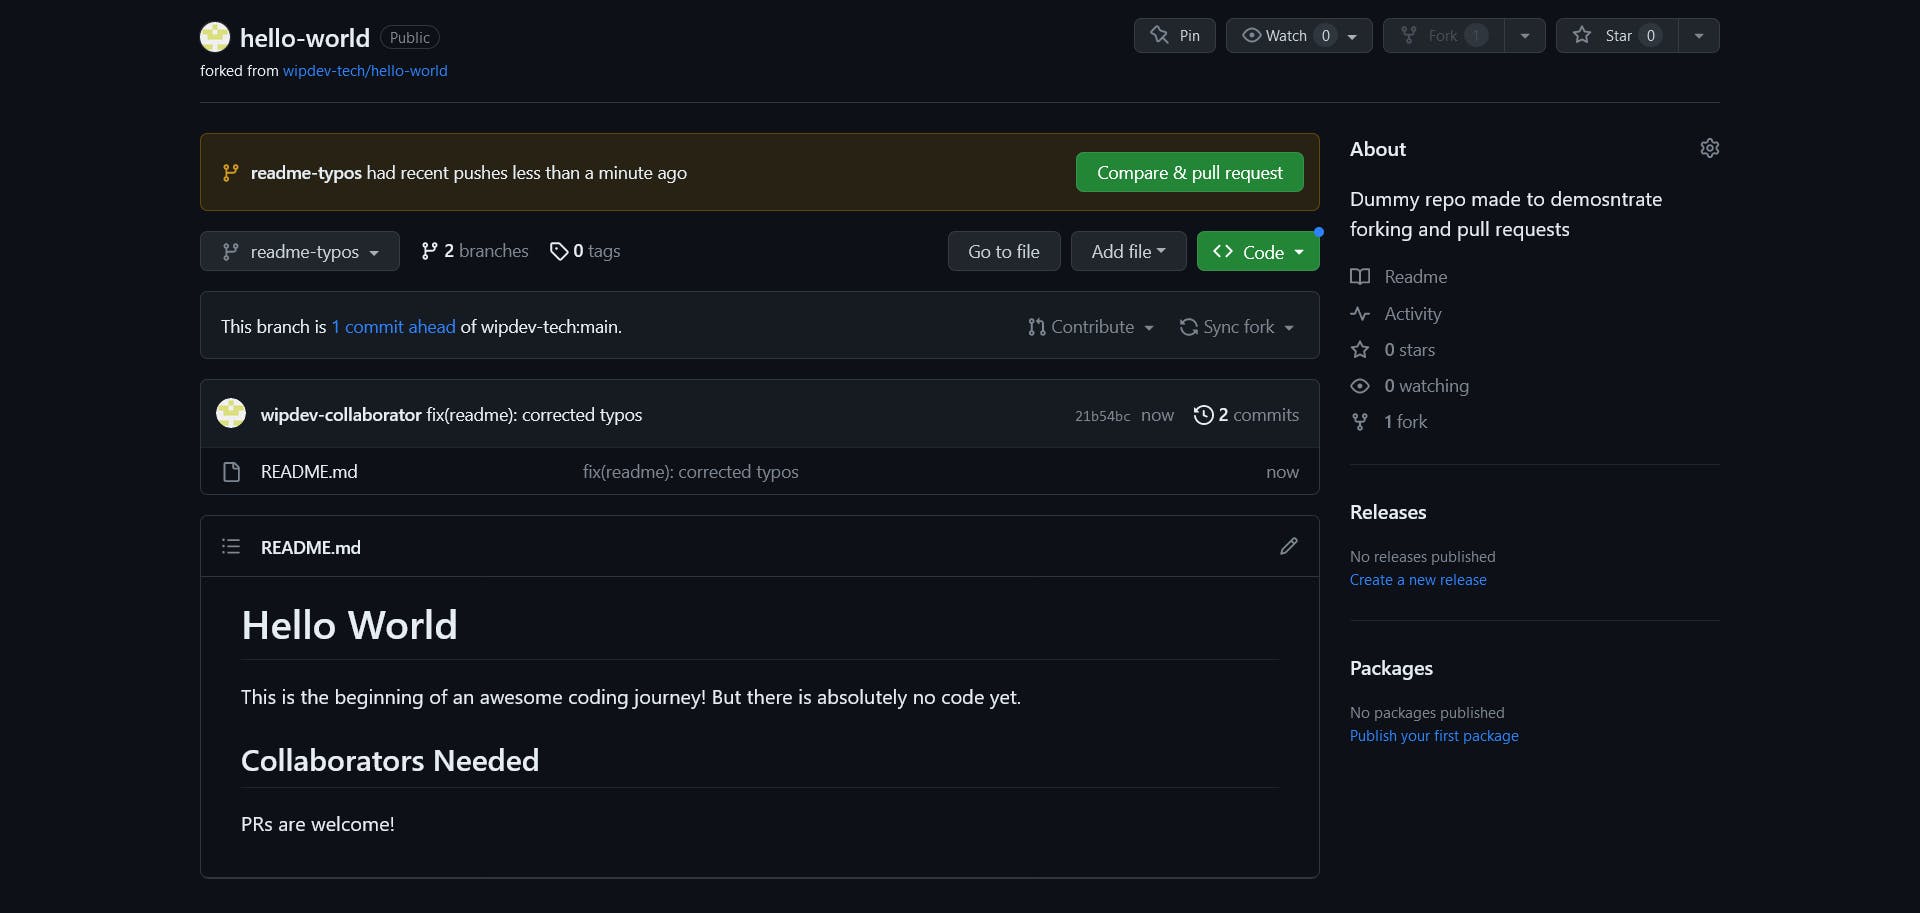
After all the steps above, the fork's page looks like this. When no further commits are needed to be made, that popup with the "Compare & pull request" button is where the next step happens.
Pull Request
Changes to your fork will remain local to your fork until you submit a pull request, which is a request for the maintainer to pull your new changes into the upstream (maintainer's) repo.
So, the collaborator proceeds to the PR page, captured below. Notice that the base now is the main branch of wipdev-tech/hello-world which is the upstream repo. Now, the collaborator can take a final look at the diff at the end of the page, write a comment to the maintainer if necessary, and finally creates the PR.
If you were following along and submitted a PR in some repo, then I congratulate you for making your first contribution to OSS!

Merge
The collaborator's job is done. Now, it's up to the maintainer to see the changes and then merge the pull request or write a comment to the collaborator for further follow-up. After merging, the new changes are now added to the upstream repo.

Final Notes
You see, the process is straightforward, and you can do it right away whenever you have something to add to a project. It could be as simple as correcting typos in Markdown files, or it could be a bug fix or a new feature. The point is, everyone at all skill levels can have something to contribute, and that's what's great about OSS.
One thing to watch out for, though, is that other people can be working on the same repo at the same time. You need to make sure your fork is in sync with the upstream, which can be done by updating the fork on GitHub or adding the upstream repo to the Git config on your local machine.
That's it! I hope that was helpful, and good luck with your OSS endeavors!
Shout out to Nik F P for suggesting the idea of this article and reviewing it.
Cover image source: https://wallpapercave.com/github-wallpapers